| |
| |
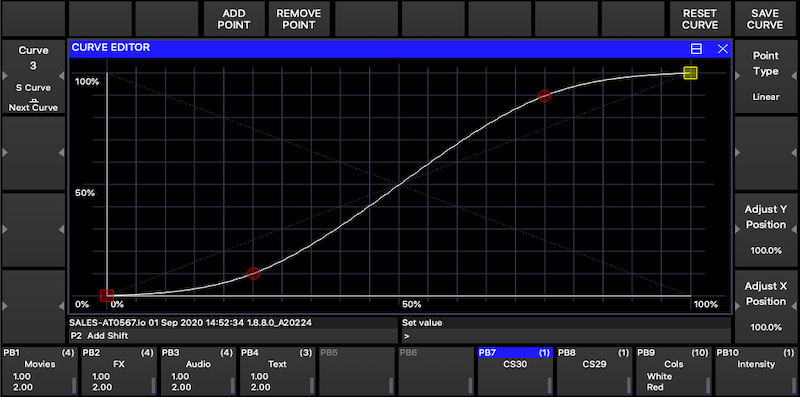
MagicQ includes a curve editor to allow users to create their own dimmer fade curves and effects curves. Curves are not specific to any head, they can be used on any head.
Note the Curve editor is not available on Compact consoles or Pro2010 consoles. User curves can be used on these consoles, but not edited.
User Curves 1 to 10 correspond to the user dimmer curves that were supported in previous versions of MagicQ. These will still be automatically loaded from the user dimmer csv files (e.g. show\heads\dimmercurveuser1.csv) if they exist.
User Curves 1 to 20 can also be used in the FX Editor (FX Window, Edit FX) as part of FX steps. Select View Chans and set the Curve filed. This allows completely custom FX waveforms to be generated.
User Curves are saved within the show file and can be imported from other show files using Setup, Import Show, Advanced, and by deselecting all options except for "Import Curves".
In the Curve Editor Window (FX Window, Curve Editor) use wheel A to find an empty curve, then press ADD POINT to add new points to the curve, at least 2 points will be required. The first 2 points are automatically placed at the start and the end of the curve. Additional points will be placed in between.
Curves can be saved into the show by pressing SAVE CURVE. RESET CURVE will return the curve to how it was last saved. Once the curve has been saved it will take effect.
Note the Curve editor is not available on Compact consoles or Pro2010 consoles. User curves can be used on these consoles, but not edited.
Points can be moved around by either clicking on them and dragging them, or by clicking on them then using encoder wheel X and Y to move them around. By clicking and dragging it is possible to select more then one point at a time and move it around.
Pressing the Y encoder button will cycle the point between 100%, 0% and a position midway between the first and last points. To specify an exact position type the required percentage then press Set and the X or Y encoder button.
To remove a point first select it by clicking on it then press REMOVE POINT. If more than one point is selected they will all be removed.
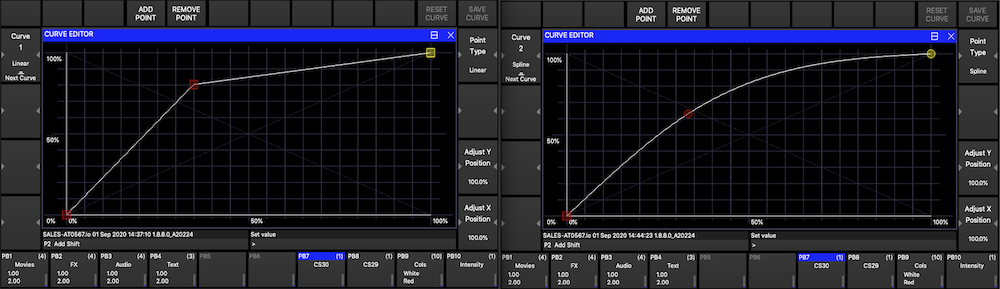
Points can either be Linear or Spline. Spline points create a curved join between 2 lines while linear points create a sharp join between 2 lines. Select a point then press encoder E to change the type of a point.
To name a curve first type type the required name then press Set, then encoder A.
| | ||
